If you have spent most of your career in digital design, your first FPAA project will probably feel familiar for about a week. After that, the analog reality sets in.
Field Programmable Analog Arrays are powerful, but they reward a different design discipline. Below are the most common issues engineers experience when they build their first FPAA-based system, along with practical ways to avoid losing time on avoidable problems.
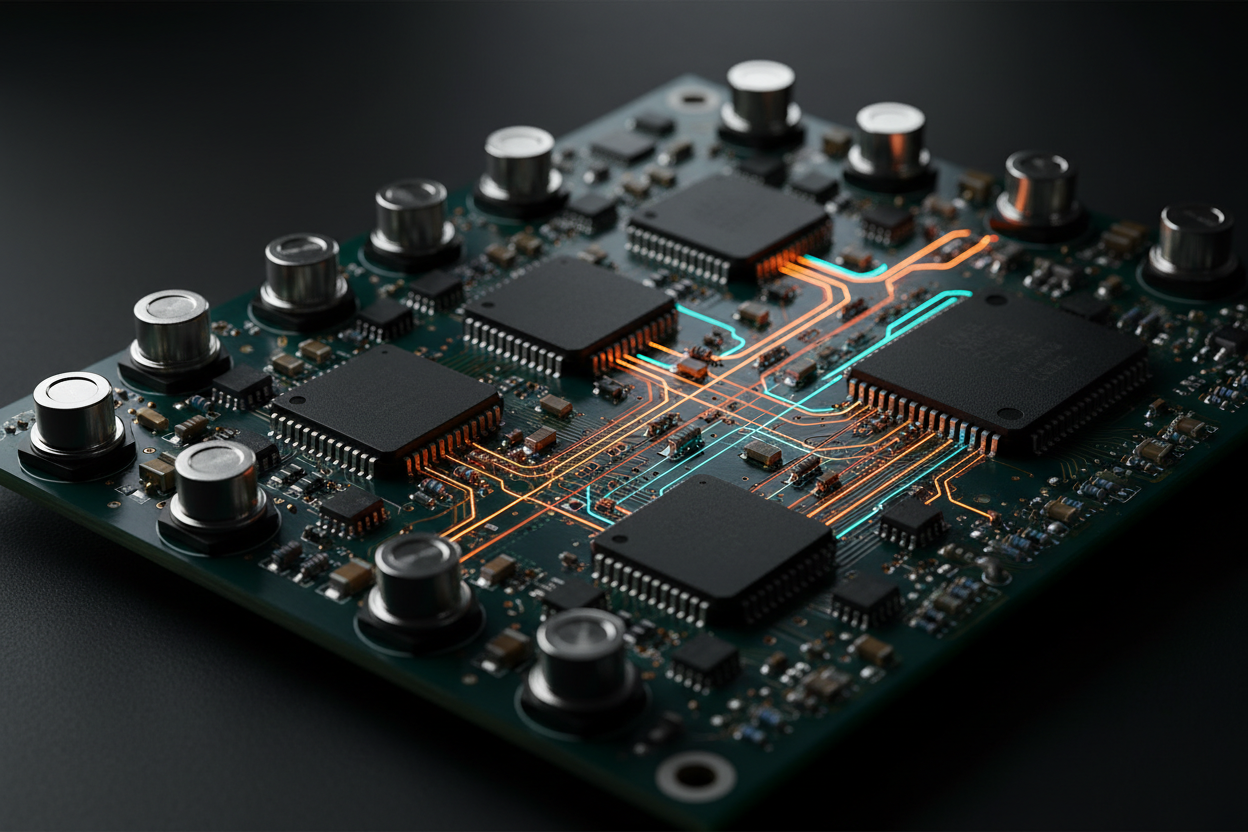
1. Carrying Over FPGA Assumptions
Engineers coming from devices like the Xilinx Artix-7 or Intel Cyclone V often expect similar system-level behavior. In digital FPGAs, routing is largely deterministic, interconnect is abstracted away, timing closure follows a defined process, and signals resolve cleanly into binary states.
An FPAA operates under different constraints. You are constructing continuous-time signal paths with finite bandwidth and gain, and routing resources introduce real parasitics that affect performance. Configuration software simplifies implementation, but it does not eliminate the underlying analog behavior. The physical characteristics of the fabric still define the outcome.
What to do instead:
- Treat routing as part of the analog design, not an invisible detail.
- Budget bandwidth and gain before placing blocks.
-
Expect interaction between adjacent resources.
Think in terms of signal integrity and transfer functions, not logic cones.
2. Poor Gain Staging and Headroom Planning
The most common hardware issue in early designs is saturation. It usually happens when multiple gain blocks are stacked because the transfer function looks correct on paper. In hardware, however, internal nodes have limited voltage swing. If one stage clips, every downstream stage inherits a distorted signal, and the overall behavior becomes difficult to interpret.
This typically traces back to incomplete amplitude analysis. Worst-case input levels are not calculated, supply rail limits are treated as theoretical rather than practical constraints, and no margin is reserved for input variation. Without explicit headroom planning at each stage, clipping becomes almost inevitable.
Practical fix:
-
Calculate maximum expected input amplitude.
-
Track gain cumulatively through every stage.
-
Leave at least 20 percent headroom at each node.
-
Measure intermediate nodes during bring-up.
If a design is unstable, check for hidden clipping before looking for exotic causes.
3. Designing Ideal Filters and Expecting Ideal Results
Filter synthesis tools generate clean frequency responses. Real hardware adds parasitics, finite Q, switching artifacts, and component tolerances.
First-time users sometimes tune filters aggressively, especially high-Q designs, and then spend days debugging what is actually normal physical behavior.
Recommendations
-
Start with moderate Q values.
-
Measure the actual frequency response on hardware before integrating the block into a larger chain.
- Expect slight center frequency and bandwidth variation.
- Avoid pushing performance limits in revision one.
Stability and predictability matter more than theoretical sharpness in early prototypes.
4. Underestimating Noise and Offset
Noise and offset are often ignored in early builds. The first sign of that oversight is usually an output that looks unstable, noisy, or unexpectedly biased, followed by a long debugging cycle. In many cases, the root cause is architectural. Excessive gain placed at the front end amplifies everything, including noise. Wide bandwidth with no input filtering allows unnecessary high-frequency content to propagate through the chain. Cascading multiple active blocks without accounting for cumulative noise further degrades signal integrity.
In addition, some FPAA architectures introduce switching-related artifacts. These effects are typically manageable, but they are real and must be considered when evaluating overall noise performance.
Best practice:
-
Control bandwidth early.
-
Place gain after filtering when possible.
-
Measure the noise floor of a single stage before building a chain.
-
Check DC offsets at each block output during bring-up.
If the output looks chaotic, measure the input-referred noise before redesigning the architecture.
5. Debugging Like It Is Digital
Digital debugging habits do not transfer well.
In digital systems you look for incorrect states. In analog systems you look for incorrect levels, slopes, distortion, and phase behavior.
Effective FPAA debugging usually follows this order:
- Verify supply rails and reference voltages.
- Check DC bias at each stage with no signal.
- Inject a known low-frequency sine wave.
- Confirm expected gain and phase at each node.
-
Increase frequency gradually and observe bandwidth limits.
Block-level validation is essential. Do not attempt to debug a five-stage signal chain as a single unit.
6. Overbuilding the First Prototype
Ambition slows first projects. Many engineers try to implement multi-stage filtering, adaptive control, closed-loop compensation, and mixed-signal integration in the very first revision. On paper, integrating everything at once feels efficient. In practice, it makes root-cause analysis difficult. When something behaves incorrectly, you are left questioning every stage simultaneously. Without a stable baseline, debugging turns into guesswork and iteration cycles expand quickly.
A better path:
-
Implement a single gain block and validate it.
-
Add one filter stage.
-
Validate again.
-
Introduce feedback only after the open-loop path behaves correctly.
Incremental integration reduces uncertainty and shortens iteration cycles.
7. Ignoring Configuration and Startup Behavior
Reconfigurable analog hardware can exhibit transient behavior during programming or startup. Initial conditions inside integrators or stateful blocks may not be zero. Power sequencing can also matter.
If a design behaves differently after reprogramming, the cause is often startup state.
Recommendations
-
Power-cycle and re-test when characterizing behavior.
-
Measure outputs immediately after configuration.
-
Include explicit reset or initialization paths if the architecture allows it.
- Document known-good configurations.
Consistency testing should be part of validation.
8. Relying Too Heavily on Simulation
Simulation tools are useful for topology exploration and rough parameter selection. They do not replace hardware measurement.
First-time designers sometimes tune extensively in simulation and then are surprised when real hardware deviates slightly.
Best practice
-
Use simulation to get within range.
-
Move to hardware quickly.
-
Iterate parameters based on measured results.
- Log changes and measurements for each revision.
Measurement shortens development cycles when used early.
A Practical First-Prototype Checklist
Before declaring a design unstable or flawed, confirm the following:
-
Gain staging has adequate headroom.
-
No internal node is clipping.
-
DC offsets are within expected range.
-
Bandwidth assumptions match measured response.
- Noise floor is acceptable relative to signal level.
Most early FPAA problems reduce to gain, bandwidth, or headroom miscalculations.
Closing Perspective
FPAAs reward disciplined analog thinking. Engineers who approach them with structured gain budgeting, conservative first builds, and measurement-driven iteration tend to converge quickly.
Your first design does not need to be ambitious. It needs to be observable, measurable, and stable.
Once you can predict what the hardware will do before you power it on, you are designing effectively in the analog domain.